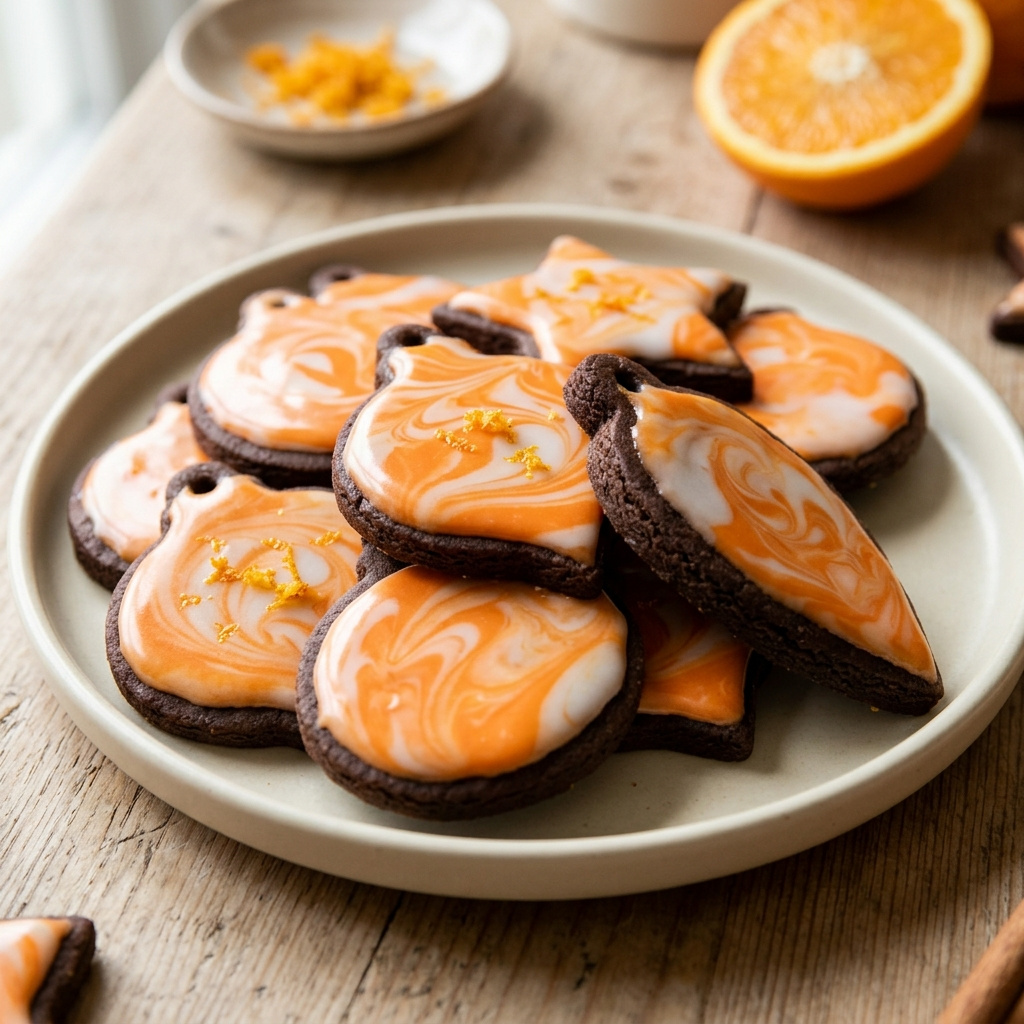
Cocoa Ornament Cookies with Marbled Orange Icing are a festive cutout treat with deep chocolate flavor and a bright citrus finish. The cookies bake up crisp around the edges with a tender center, while the glossy icing adds a beautiful swirled look that makes each one feel special.
This recipe is designed for decorating, gifting, and holiday cookie trays, but it is also straightforward enough for a relaxed weekend baking project. The cocoa dough rolls out smoothly after chilling, holds ornament shapes well, and pairs naturally with orange-scented icing.
A simple marbling technique gives the icing its decorative finish without requiring advanced piping skills. Once the cookies are baked and cooled, the icing comes together quickly and can be swirled in small batches so every cookie has its own unique pattern.
Recipe Overview
- Prep time: 35 minutes
- Cook time: 10 minutes
- Total time: 105 minutes
- Servings: 24 cookies
- Difficulty: Medium
Why You’ll Love It
- The cocoa cookie dough has a rich chocolate taste that balances the sweet citrus icing.
- The dough chills and rolls well, helping ornament shapes keep clean edges during baking.
- The marbled icing creates an elegant decorated look with a simple swirling method.
- These cookies are ideal for holiday platters, edible gifts, and make-ahead baking.
- The recipe uses familiar pantry ingredients plus fresh orange zest and juice for bright flavor.
Nutritional Benefits and Adaptable Variations
- Use different ornament-shaped cutters such as rounds, teardrops, stars, or baubles for a varied cookie tray.
- Add a small hole near the top of each cookie before baking if you want a true ornament-style look.
- Swap the orange extract for vanilla extract in the icing for a softer citrus profile.
- Finish the wet icing with a light pinch of finely grated orange zest for extra aroma and color.
- For a darker chocolate note, replace 15 g of the flour with an additional 15 g unsweetened cocoa powder.
Ingredients
- 170 g unsalted butter, softened
- 150 g granulated sugar
- 1 large egg
- 1 tsp vanilla extract
- 260 g all-purpose flour
- 40 g unsweetened cocoa powder
- 1/2 tsp baking powder
- 1/4 tsp fine salt
- 240 g powdered sugar
- 4 tbsp fresh orange juice
- 1 tsp finely grated orange zest
- 1 tbsp light corn syrup
- 1 to 2 tsp water
- 1 to 2 drops orange gel food coloring
Step-by-Step Instructions
- In a large bowl, beat the softened butter and granulated sugar with a hand mixer or stand mixer on medium speed for 2 to 3 minutes until smooth and lightly fluffy.
- Add the egg and vanilla extract, then beat until fully combined, scraping down the bowl as needed.
- In a separate bowl, whisk together the all-purpose flour, unsweetened cocoa powder, baking powder, and fine salt until evenly mixed.
- Add the dry ingredients to the butter mixture and mix on low speed just until a soft dough forms with no dry streaks remaining.
- Divide the dough into 2 equal portions and flatten each into a disk. Wrap tightly and chill for 45 minutes so the dough is firm enough to roll cleanly.
- Preheat the oven to 175 C and line 2 baking sheets with parchment paper.
- Working with one disk at a time on a lightly floured surface, roll the dough to about 6 mm thickness. Cut into ornament shapes and transfer to the prepared baking sheets, spacing the cookies about 2.5 cm apart. Re-roll scraps once to cut more cookies.
- If desired, use a small round piping tip or skewer to make a hanging hole near the top of each ornament cookie. Chill the cut cookies on the trays for 10 minutes to help them hold their shape.
- Bake one tray at a time for 9 to 10 minutes, until the tops look set and the edges are firm. Let the cookies cool on the baking sheet for 5 minutes, then transfer to a wire rack to cool completely.
- To make the icing, whisk together the powdered sugar, fresh orange juice, orange zest, and corn syrup in a medium bowl. Add 1 teaspoon water at a time as needed until the icing is thick but fluid enough to settle smoothly after a few seconds.
- Spoon about one third of the icing into a small bowl and tint it with 1 to 2 drops of orange gel food coloring. Leave the remaining icing white.
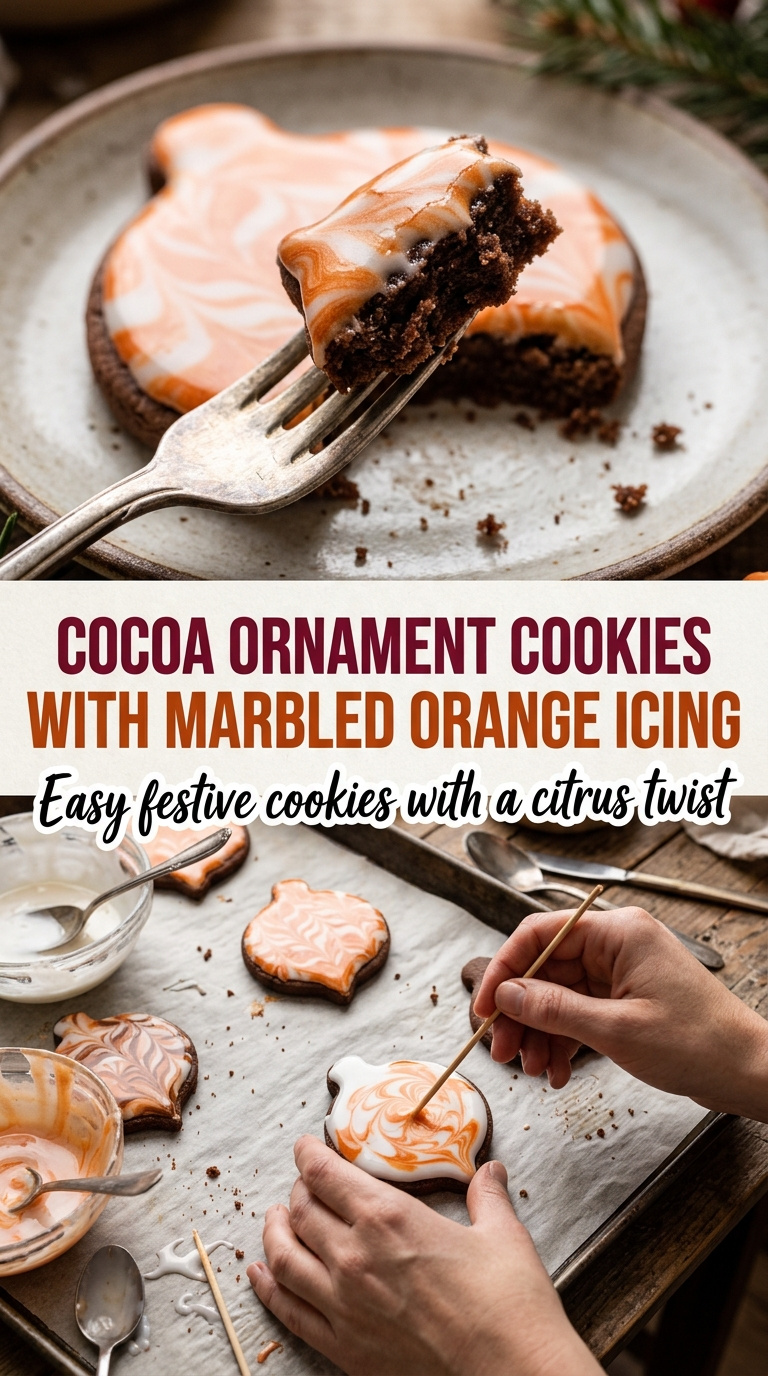
- Working in small batches, place a spoonful of white icing on a cooled cookie and spread it gently to the edges. Dot a little orange icing over the top, then drag a skewer or toothpick through the icing in loose swirls to create a marbled pattern.
- Set the iced cookies on a wire rack and let them stand at room temperature for about 50 minutes, or until the icing is dry to the touch and set enough for serving.
Tips, Serving Suggestions & Substitutions
- Chill the dough thoroughly so the ornament shapes stay neat and easy to transfer.
- Roll the dough between sheets of parchment if you want less added flour on the surface.
- Do not overbake the cookies; they should look set rather than dry for the best texture.
- Mix the icing to a thick flowing consistency so it spreads smoothly without running off the edges.
- Marble only a few cookies at a time because the icing begins to set as it sits.
Nutrition Information
| Per Serving | Approximate Amount |
|---|---|
| Calories | 167 kcal |
| Carbohydrates | 24 g |
| Protein | 2 g |
| Fat | 7 g |
| Saturated Fat | 4 g |
| Cholesterol | 23 mg |
| Sodium | 46 mg |
| Fiber | 1 g |
| Sugar | 14 g |
Nutrition is an approximate estimate per serving based on 24 cookies and will vary with cookie size, exact icing amount used, and any dough scraps re-rolled.
Storage & Make-Ahead Tips
Store the fully set cookies in an airtight container at room temperature for up to 4 days.
Layer the cookies between sheets of parchment paper to help protect the marbled icing.
Freeze uniced baked cookies in an airtight container for up to 2 months, then thaw and decorate before serving.
FAQ
1. Can I make the dough ahead of time?
Yes. The dough can be prepared, wrapped well, and refrigerated for up to 2 days before rolling and baking. Let it sit at room temperature for a few minutes if it is too firm to roll easily.
2. Why did my cookies spread too much?
The dough may have become too warm before baking or the flour may have been measured lightly. Chilling the cut cookies on the tray before baking helps the shapes stay defined.
3. How do I know the icing is the right consistency?
The icing should fall from a spoon in a ribbon and smooth out on itself within a few seconds. If it is too thick, add water a few drops at a time. If it is too thin, whisk in a little more powdered sugar.
4. Can I use bottled orange juice instead of fresh?
Yes, but fresh orange juice and zest give the icing a brighter flavor. If using bottled juice, the icing may need slight adjustment with extra powdered sugar or water depending on thickness.
5. Can I decorate these with sprinkles?
Yes. Add fine sanding sugar or small sprinkles right after icing each cookie so they adhere before the surface begins to set.
Final Thoughts
These cocoa ornament cookies bring together classic chocolate richness and fresh orange flavor in a way that feels festive and polished. The marbled icing gives them a decorative finish that looks impressive without requiring complicated techniques.
Whether you serve them at a holiday gathering or package them as a homemade gift, this recipe delivers cookies that are both beautiful and easy to enjoy. Keep the shapes simple or make them elaborate, and let the marbling make each batch unique.

Cocoa Ornament Cookies with Marbled Orange Icing
Ingredients
- 170 g unsalted butter softened
- 150 g granulated sugar
- 1 large egg
- 1 tsp vanilla extract
- 260 g all-purpose flour
- 40 g unsweetened cocoa powder
- 1/2 tsp baking powder
- 1/4 tsp fine salt
- 240 g powdered sugar
- 4 tbsp fresh orange juice
- 1 tsp finely grated orange zest
- 1 tbsp light corn syrup
- 1 to 2 tsp water
- 1 to 2 drops orange gel food coloring
Instructions
- In a large bowl, beat the softened butter and granulated sugar with a hand mixer or stand mixer on medium speed for 2 to 3 minutes until smooth and lightly fluffy.
- Add the egg and vanilla extract, then beat until fully combined, scraping down the bowl as needed.
- In a separate bowl, whisk together the all-purpose flour, unsweetened cocoa powder, baking powder, and fine salt until evenly mixed.
- Add the dry ingredients to the butter mixture and mix on low speed just until a soft dough forms with no dry streaks remaining.
- Divide the dough into 2 equal portions and flatten each into a disk. Wrap tightly and chill for 45 minutes so the dough is firm enough to roll cleanly.
- Preheat the oven to 175 C and line 2 baking sheets with parchment paper.
- Working with one disk at a time on a lightly floured surface, roll the dough to about 6 mm thickness. Cut into ornament shapes and transfer to the prepared baking sheets, spacing the cookies about 2.5 cm apart. Re-roll scraps once to cut more cookies.
- If desired, use a small round piping tip or skewer to make a hanging hole near the top of each ornament cookie. Chill the cut cookies on the trays for 10 minutes to help them hold their shape.
- Bake one tray at a time for 9 to 10 minutes, until the tops look set and the edges are firm. Let the cookies cool on the baking sheet for 5 minutes, then transfer to a wire rack to cool completely.
- To make the icing, whisk together the powdered sugar, fresh orange juice, orange zest, and corn syrup in a medium bowl. Add 1 teaspoon water at a time as needed until the icing is thick but fluid enough to settle smoothly after a few seconds.
- Spoon about one third of the icing into a small bowl and tint it with 1 to 2 drops of orange gel food coloring. Leave the remaining icing white.
- Working in small batches, place a spoonful of white icing on a cooled cookie and spread it gently to the edges. Dot a little orange icing over the top, then drag a skewer or toothpick through the icing in loose swirls to create a marbled pattern.
- Set the iced cookies on a wire rack and let them stand at room temperature for about 50 minutes, or until the icing is dry to the touch and set enough for serving.