
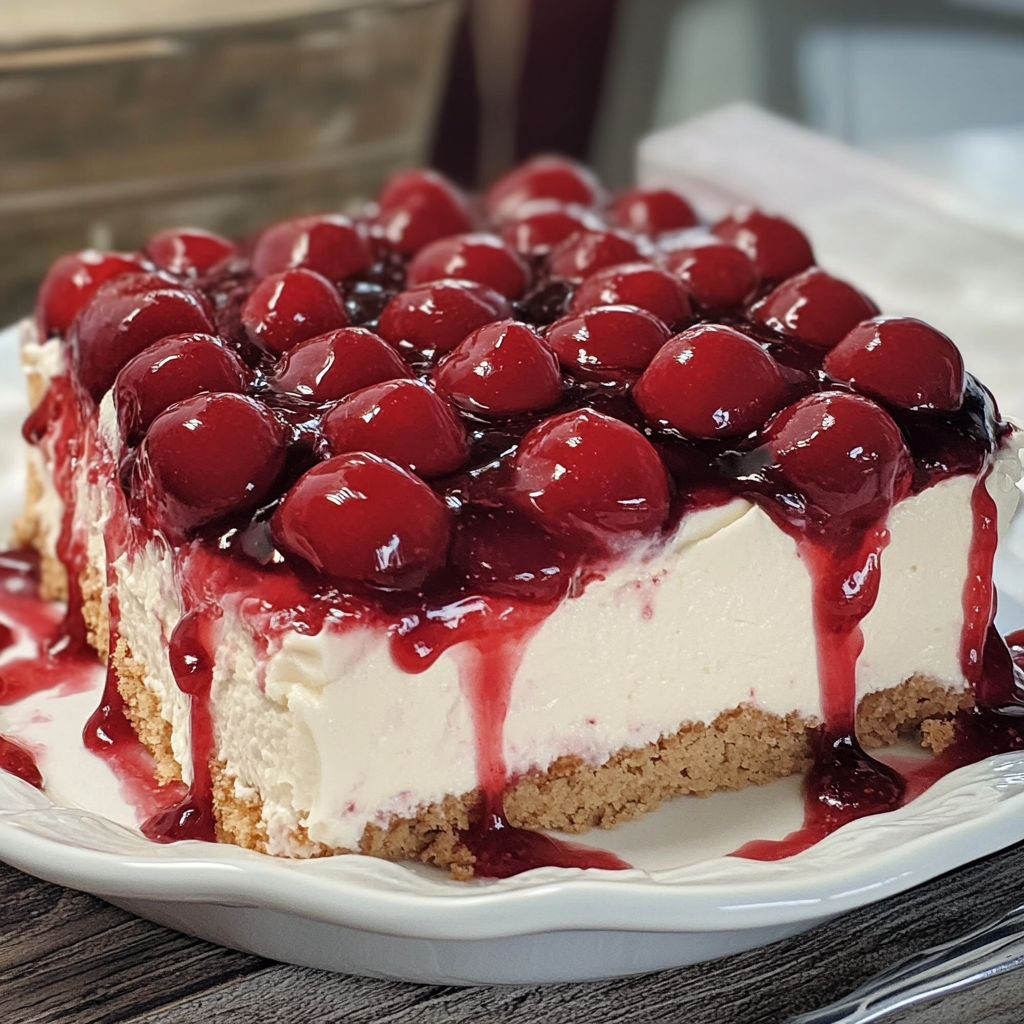
Hello there! Do you ever crave something sweet that’s also super easy to make? I’ve got the perfect solution for you: no-bake cherry cheesecake bars! These beauties are so creamy, dreamy, and delicious, and the best part is you don’t even need to turn on the oven. I love whipping these up for gatherings or just enjoying them after a long day. It’s a treat that will surely impress your friends and family!
Nutritional Benefits
Let’s chat about some of the perks of these cherry cheesecake bars. First off, cherries are not just pretty on top; they’re also packed with antioxidants, which can promote heart health and reduce inflammation. The cream cheese provides a nice source of calcium and protein, too! If you’re mindful of sugar, you can even adapt this recipe by reducing the powdered sugar or choosing a sugar substitute that works for you.
Adaptable Variations
- Fruit Toppings: If cherries aren’t your jam, feel free to swap in other fruits like blueberries, strawberries, or even mixed berries—whatever you love!
- Graham Cracker Variety: You can switch up the crust by using Oreo crumbs for a chocolatey twist or nut-based crust for a gluten-free option.
- Lower-Fat Version: Use reduced-fat cream cheese and sugar-free Cool Whip to make these treats a bit lighter while still being delicious!
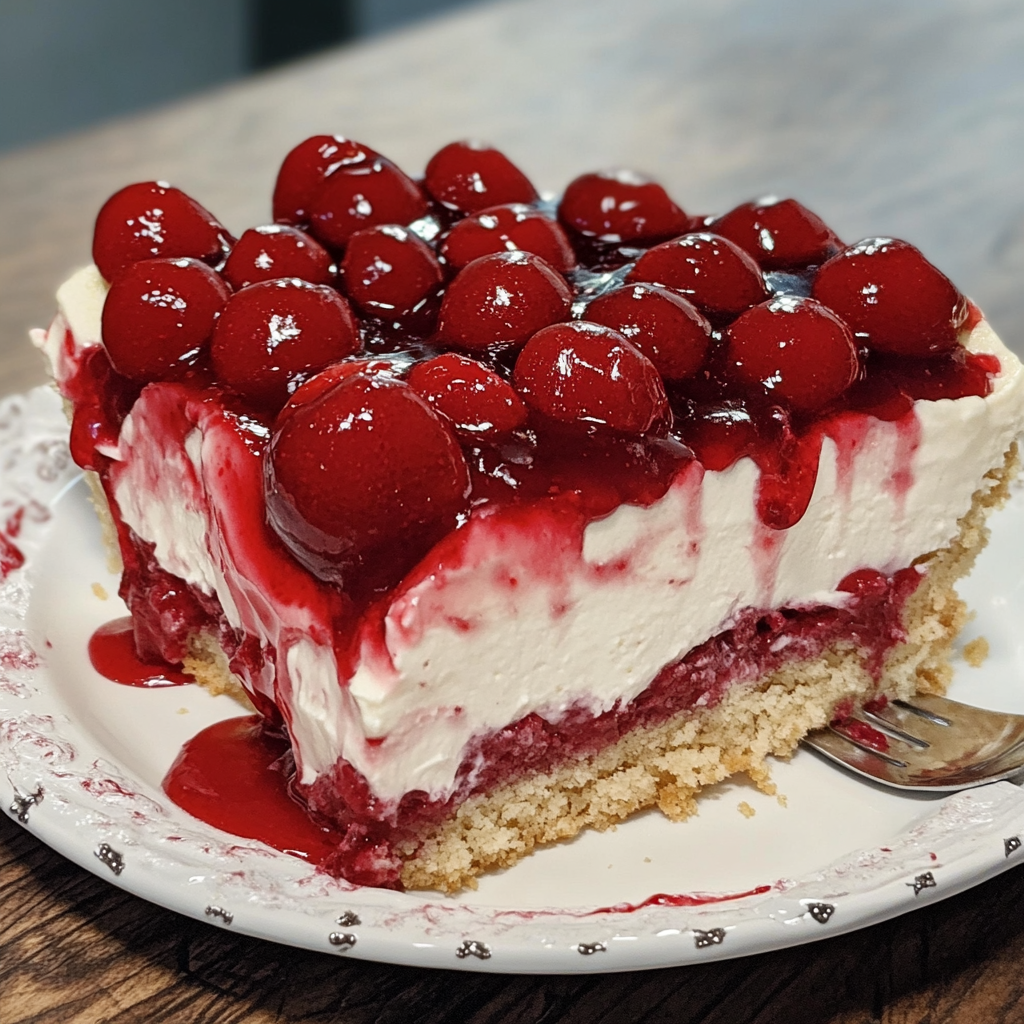
No-Bake Cherry Cheesecake Bars Recipe
Ingredients
- 7 tablespoons unsalted butter, melted
- 1 ½ cups graham cracker crumbs (about 9 whole crackers)
- 3 tablespoons granulated sugar
- 8 ounces cream cheese, softened
- 1 cup powdered sugar
- 1 teaspoon pure vanilla extract
- 1 container (8 ounces) Cool Whip
- 1 can (21 ounces) cherry pie filling
Instructions
- Start by microwaving the 7 tablespoons of unsalted butter for about 30 seconds or until completely melted.
- In a medium mixing bowl, combine the melted butter with 1 ½ cups of graham cracker crumbs and 3 tablespoons of granulated sugar. Mix thoroughly until the ingredients resemble wet sand.
- Grease an 8×8-inch baking dish with a bit of butter or cooking spray. Press the crumb mixture firmly into the bottom of the dish to form an even crust layer.
- In a large bowl, beat the 8 ounces of softened cream cheese until it is smooth and creamy.
- Gradually add in 1 cup of powdered sugar and 1 teaspoon of pure vanilla extract to the cream cheese mixture, mixing until fully combined and smooth.
- Gently fold in the entire container (8 ounces) of Cool Whip. Be careful to keep the mixture light and fluffy!
- Spread the cream cheese filling evenly over the graham cracker crust.
- Spoon the cherry pie filling over the cream cheese layer, spreading it evenly across the top.
- Cover with plastic wrap or aluminum foil and refrigerate for at least 2 hours (or overnight if you can wait!).
- After chilling, slice into squares, serve cold, and enjoy!
Practical & Valuable Tips
- Take your time when pressing the crust down—it should be compact to hold the filling without falling apart.
- Use a sharp knife to cut the cheesecake bars for clean edges, and warm the knife in hot water before cutting if it sticks!
- Make sure the cream cheese is at room temperature to eliminate lumps and allow for a smoother mix.
- Store any leftovers in the refrigerator in an airtight container, and they should stay fresh for a few days.
- If you want to make these in advance, just keep the cherry topping separate until you’re ready to serve to prevent sogginess!
Equipment Needed
Here’s what you’ll need to whip up these delightful treats:
- A microwave-safe bowl for the butter
- Measuring cups and spoons
- A mixing bowl and an electric mixer
- A spatula or spoon for mixing and spreading
- A greased 8×8-inch baking dish
- Plastic wrap or aluminum foil for covering
- A sharp knife for slicing
Frequently Asked Questions
- Can I use homemade whipped cream instead of Cool Whip? Of course! Just whip your cream with a bit of sugar until soft peaks form and fold that in instead!
- How long will these last in the fridge? They’re best enjoyed within 3-4 days, but they can be stored for about a week if needed.
- What can I do with leftover cherry pie filling? It’s wonderful over pancakes, in yogurt, or on ice cream—the options are endless!
- Is this recipe gluten-free? If you use gluten-free graham crackers, then yes, these bars can be a gluten-free treat!
- Can I freeze the cheesecake bars? Yes! Wrap them well and they should hold up in the freezer for a couple of months. Just thaw in the fridge before serving.
Did you give these no-bake cherry cheesecake bars a try? I honestly can’t wait to hear how they turned out for you! For more deliciously simple recipes, follow me on Pinterest and let’s keep sharing our love for cooking!
