
Hey there! If you’re looking for a bright and delicious dinner option, stuffed bell peppers might just become your new best friend. I absolutely love making these colorful veggies stuffed with rice and veggies—it’s such an easy and healthy meal that the whole family can enjoy! Plus, you can customize them based on what you have in your fridge. Let’s dive into this delightful recipe!
Nutritional Benefits
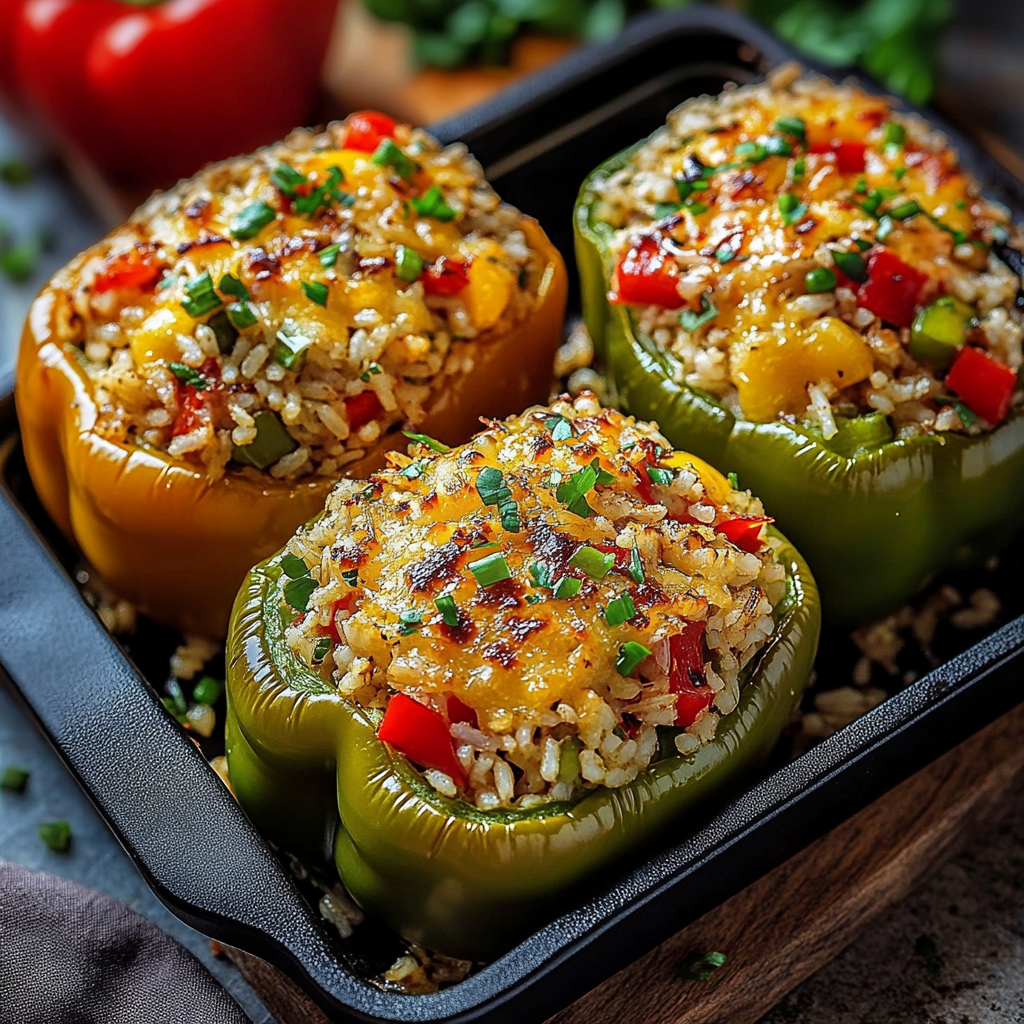
Stuffed bell peppers are not just pretty to look at; they’re also packed with nutrients! Bell peppers are rich in vitamins A and C, which are great for your immune system and skin health. Plus, they are low in calories and high in fiber, helping with digestion and keeping you full longer. When you add rice and veggies, you’re introducing carbohydrates, protein, and more vitamins, making this dish a well-rounded meal.
Adaptable Variations
- Quinoa Replacement: If you’re looking to boost the protein content, try quinoa instead of rice—it’s nutty and delicious!
- Whole Grains: You can also use brown rice or other whole grains for added fiber and nutrients.
- Vegan Option: Replace cheese with nutritional yeast or skip it entirely for a vegan-friendly dish while keeping all the flavor.
- Meat Lovers: If you enjoy meat, ground turkey or beef works wonderfully when mixed with the rice and veggies!
Easy Stuffed Bell Peppers Recipe
Ingredients
- 4 large bell peppers (any color you like!)
- 1 cup cooked rice (white, brown or quinoa)
- 1 cup diced tomatoes (canned or fresh)
- 1 cup chopped veggies (like zucchini, onion, or corn)
- 1 teaspoon Italian seasoning
- Salt and pepper to taste
- 1 cup shredded cheese (optional)
Instructions
- Preheat your oven to 375°F (190°C).
- Cut the tops off the bell peppers and remove the seeds. Set them aside.
- In a mixing bowl, combine the cooked rice, diced tomatoes, chopped veggies, Italian seasoning, salt, and pepper. Stir until everything is evenly mixed.
- Stuff each bell pepper with the rice mixture, packing it down gently. If using cheese, sprinkle some on top before placing in the oven.
- Place the stuffed peppers upright in a baking dish and add a splash of water at the bottom of the dish to help steam them.
- Cover with aluminum foil and bake for 25-30 minutes, then uncover for another 10 minutes to let the cheese melt and brown slightly.
- Let them cool for a few minutes, then serve warm!
Practical & Valuable Tips
- To prevent overcooking, keep an eye on your peppers—aim for them to be tender but still slightly crunchy!
- If you have any leftover stuffing, consider using it in a salad or as a side dish.
- Stuffed peppers are perfect for meal prep—make a batch and store them in the fridge for up to 4 days.
- These can also be frozen! Just make sure to wrap them tightly and they can last up to 3 months—just reheat when you’re ready to enjoy.
Equipment Needed
Here’s what you’ll want to have handy:
- A baking dish (any size that fits your peppers)
- A mixing bowl for all your filling ingredients
- A sharp knife for cutting the peppers
- A spoon to scoop out the seeds
- A measuring cup for the rice and veggies
- Aluminum foil to cover the peppers while they bake
Frequently Asked Questions
- Can I use frozen bell peppers? Definitely! Just make sure to thaw and drain any excess water before stuffing them.
- What if I don’t like rice? No worries! You can substitute couscous, quinoa, or even cauliflower rice.
- Can I make these ahead of time? Yes! You can prepare the filling and stuff the peppers a day before. Just bake them when you’re ready.
- What kind of toppings can I add? You might try some fresh herbs like parsley or cilantro, or even a dollop of sour cream or guacamole on top!
- Are they spicy? They’re not spicy unless you choose to add hot peppers to the filling. Feel free to add spices like paprika for a little zing if you like!
I would love to hear how your stuffed bell peppers turned out! Please take a moment to share your thoughts or any twists you added. Don’t forget to pin this recipe on Pinterest for easy access later—happy cooking!
